3DVeniceBridges: Difference between revisions
| Line 164: | Line 164: | ||
|- | |- | ||
|left landing | |left landing | ||
| | |-- | ||
|Distance from the left boundary of the bridge to the river | |Distance from the left boundary of the bridge to the river | ||
|- | |- | ||
|right landing | |right landing | ||
| | |-- | ||
|Distance from the right boundary of the bridge to the river | |Distance from the right boundary of the bridge to the river | ||
|- | |- | ||
Revision as of 14:05, 22 December 2021
Introduction
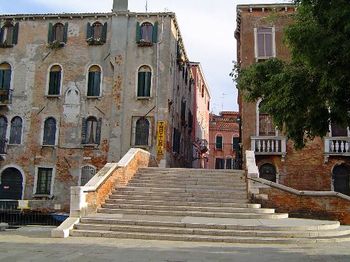
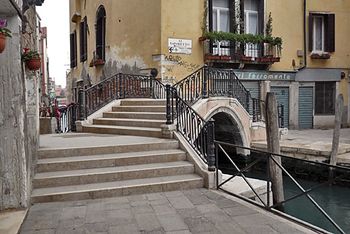
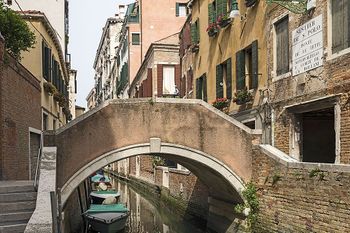
Venice is built on a group of 118 small islands that are separated by canals and linked by over 400 bridges. Venice is built on a group of 118 small islands that are separated by canals and linked by over 400 bridges. The Bridge plays such an important part in Venice that studying the bridge can help us understand better the history and structure of Venice. Our project is mainly based on the book Catalogo Veneziano – Ponti Santa Croce and Catalogo Veneziano – Ponti San Polo, to build specific 3D models for these bridges and to create specific additional layers on the geographical information system.
Motivation
With more than 400 bridges, Venice is known as the “city of bridges”. In fact, the evidence of the first stone bridges dates back to 1170, and before that time people only used boats to go from one of the 121 islands to another island. Because of technological progress, population growth, and the city’s increase in trade it became necessary to build routes that would connect the various areas. That is how the bridges of Venice were born.
Bridges are an integral part of Venice. The bridge connected Venice from a number of scattered islands into a whole, facilitating economic and cultural exchanges and development within the city, while the economic and cultural development also contributed to the construction of the bridges. The construction of bridges’ 3D models allows us to understand more about the structure and history of the city. What’s more, digitalizing this information allows the researchers to carry out further analyses.
Our project is based on the materials (Catalog Venezia), combined with today's bridge photo, to upgrade the Napoleonic cadaster with bridge information. Given the huge number of bridges in Venice, it would take a long time to build each bridge manually. We have found that the majority of the bridges mentioned in the materials are composed of 4 parts: arc, plane, stairs, and railings. And different parts have different types. So we want to create a bridge generator in which we can specify the type and data of each component based on the materials to build the 3D model for bridges of Venice.
Methodology
1. Build Database
1.1 Classify the Bridge
Before building the 3D model, we need to figure out the typologies of bridges. To facilitate 3D modeling, we treat the bridge as four parts: arc, bridge body, stairs, and railings. Different parts have different types, which form a wide variety of bridges.
1.1.1 Arc
There are two main types of bridges in Venice, arch bridges and girder bridges:
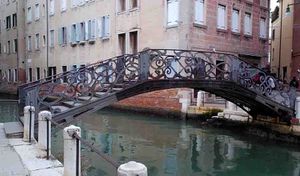
- Non-arched bridges are referred to as girder bridges, also called truss bridges. Truss bridges generally have a horizontal deck between two imposts and therefore require longer access ramps than arch bridges, whose ramps are inclined from the keystone to the abutments; in addition, generally speaking, girder bridges need to have higher structural depth than arch bridges. Against these disadvantages, truss bridges have the undoubted advantage of generating mainly vertical reactions on the foundations, making them highly suitable for the city’s soil characteristics.
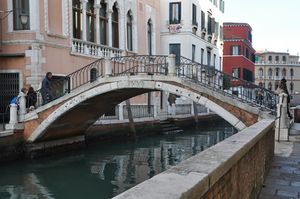
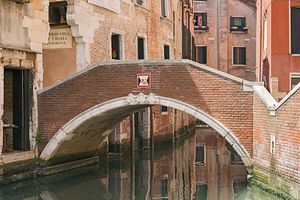
- Arch bridges are much more prevalent, as they successfully integrate the need for a continuous pedestrian walkway with the need to leave sufficient space underneath for boats to pass. Arches are designed according to various formal types: semi-circular, horseshoe, segmental, equilateral pointed, elliptical.
- (a) Round, when the curve of the arch is equal to a semi-circumference (fig. 1): tutto sesto.
- (b) Curved, when the curve of the arch is greater than a semi-circumference (fig. 2):sesto rialato.
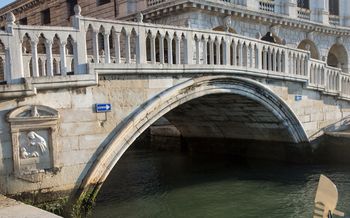
- (c) Normal, when it is a low-slung arch, cod with the curve smaller than a semi-circumference (fig. 3): normale.
- (d) Only if the curve is smaller than a semi-circumference is the arch called a low arch (fig. 4)sesto ribassato.
- (e) Equilateral pointed(fig 5):acuto o gotico.
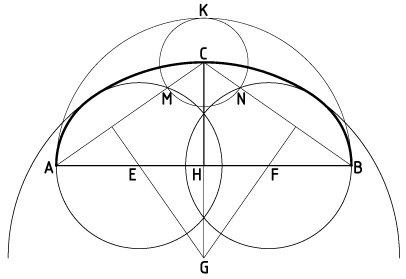
- (f) Polycentric, when the curve results from the union of several (3 or 5) arcs of circles of different radii (fig. 6): policentrico.
We found that most of the bridges from the materials are type c and type d, and very few bridges of type e and f. Thus, we can draw the arc using “3 points” ways to build the 3D model for most bridges.
1.1.2 Bridge Body
According to the books “I ponti di Venezia” there are three types of bridges material:
- Wooden bridges (Struttura in legno ).
- Stone bridges (struttura in pietra d'Istria / struttura in pietra).
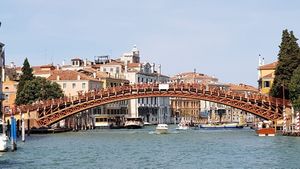
- Iron bridges (struttura in ferro).
1.1.3 Stairs
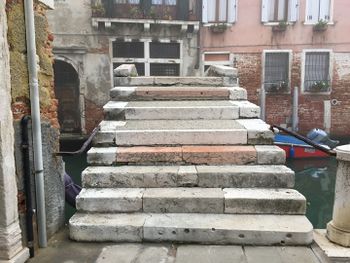
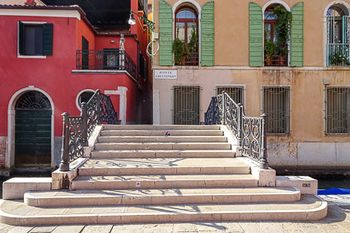
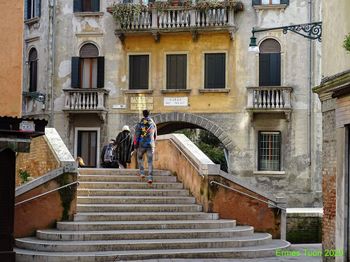
Staircases are generally the straight flight of stairs, with some differences in shape the shape of the step. There are two different types of step’s shape:
- Normal Rectangle.
- Normal Rectangle with an arc in the corner.
Also, there are three different types of stair‘s structures:
- Simple stairs
- Stairs with platforms in between
- Stairs in different angles
There are also some bridges have mixed types.
1.1.4 Railing
According to the book “I Ponti di Venezia” there are two types of railing material:
- Iron railings (spallette in ferro).
- All metal handrails are composed of balusters, which differ in their shape.
- Stone railings (spallette in pietra).
- There are two types of railings made of stone; one is composed of balustrade, the other is solid railings.
1.2 Digitalize and OCR the Materials
First, we digitalize the materials (Catalog Venezia) with printers to get the ‘.pdf’ file. Then, we use OCR to recognize the descriptive text information from the scanned pdf file. As for recognizing results, we first delete the messy code and then manually check and correct the results to get our final information.
1.3 Organize the Collected Data and Build Database
1.3.1 Description Data
The information that we got from OCR pdf file is descriptive text information, which tells us the information of name, location, and types of bridges.
| Parameter | Description | Notes |
|---|---|---|
| id | The unique id of each bridge | -- |
| name | The name of the bridge | -- |
| river | The river which the bridge crosses | Update GIS information |
| street | The street connected by this bridge | Update GIS information |
| district | The community where the bridge is located | Update GIS information |
| structure | The type of the arc.
‘0’ is the flat bridge, ‘1’ to ‘6’ are six types of arch bridges, and these six tags correspond to the categories in section 1.1.1 |
Build the arc model |
| material | The material of the bridge body
‘1’ is the wooden bridge, ‘2’ is the stone bridge, ‘3’ is the iron bridge, |
Do the texture mapping |
| railing | The type of the bridge railings
‘2’ is the stone railing, ‘3’ is the metal railing |
Build the railing model |
1.3.2 Measurement Data
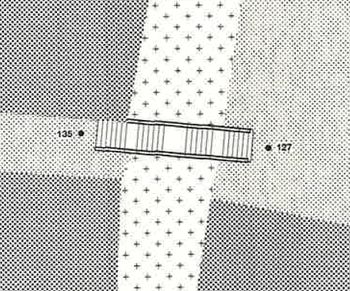
In order to build the 3D model based on the plan of the bridge provided in the material, we need to get some length parameters of the bridges in the plan. We import the plan into Rhino to take measurements and get the following data:
| Parameter | Description | Notes |
|---|---|---|
| river width | -- | The width of the arc |
| bridge length | -- | Build the bridge body model |
| bridge width | -- | Build the bridge body model |
| stair number | The number of steps (left and right) | Build the stair model |
| stair tread | The tread (length) of each step | Build the stair model |
| left landing | ||
| Distance from the left boundary of the bridge to the river | ||
| right landing | ||
| Distance from the right boundary of the bridge to the river | ||
| railing width | -- | Build the railing model |
| elevation difference | The height difference between left landing and right landing | Build arc and bridge body model |
Using the data above, we can calculate other data like the width of stairs (bridge width - 2 * railing width).
1.3.3 Data to Be Speculated
There are still some data we cannot get from the materials, and we need to speculate these data with our common knowledge and the photographs of these bridges.
| Parameter | How to speculate |
|---|---|
| step riser | According to the relation between riser and tread we can get an approximate value of the riser. |
| bridge height | Calculate the height of the bridge based on the height and number of the step. |
| arc height | The approximate range of the arc height can be obtained from the type of arc, while the height of the arc is less than the height of the bridge. Based on these 2 conditions, we can estimate a suitable value. |
| railing height | Estimate height of railing based on real pictures |
2. Build 3D Model
2.1 Build A General Bridge Model
We first build a simple and general bridge model to better understand the whole structure of the bridge and the relationship between the components.
2.2 Build Models of Different Components
We create 3D models of the four components separately according to the previous classification.
2.2.1 Arc Model
Since most of the bridges are type c and type d, we use the way that creates a circle depending on 3 points to build the arc model. We have one arc model and one flat model.
2.2.2 Bridge Body Model
The difference between different types of bridge body is the material. So we make three types of texture mapping on the bridge body according to the bridge’s material.
2.2.3 Stairs Model
Staircases are generally the straight flight of stairs, and the shape of the step is mainly a normal rectangle. So we create one type of stair and modify it according to the parameters. There could be multiple staircases on the bridge, and we can adjust the parameters and create multiple staircases according to the specific bridge.
As for the special shape of the step which is a rectangle with an arc in the corner, since there are not many of them, we will treat them as special cases to be improved at a later stage.
2.2.4 Railing Model
We build two types of railing models, one is solid railing and the other is railing with balustrade. And then we make texture mapping according to their railing materials.
2.3 Input Parameters into 3D Model
We import the plane into Rhino, measure the length of the bridge, and store the data in the component in the grasshopper. Then we connect these components with the model, i.e. the parameters are passed into the model. So we can generate the 3D model of bridges semi-automatically.
Project Plan and Milestones
Milestones
1. Initial research on Venice Bridge: books and other materials, work on general methods. ✓
2. Classification of the Bridge: common and special features. ✓
3. Determination of relevant parameters: description, measurement and speculation. ✓
4. Digitalization of the books: formation of structured data. ✓
5. Preliminary model: simple bridge structure. ✓
6. Modular design: implementation of different components of the bridges
7. Parameters input: create models for common bridges
8. Adjustment on special bridges
Project Plan
| Date | Task | Completion |
|---|---|---|
| By Week 3 |
|
✓ |
| By Week 4 - 5 |
|
✓ |
| By Week 6 |
|
✓ |
| By Week 7 |
|
✓ |
| By Week 8 |
|
✓ |
| By Week 9 |
|
✓ |
| By Week 10 |
|
|
| By Week 11 |
|
|
| By Week 12 |
|
|
| By Week 13 |
|
|
| By Week 14 |
|
Results and Assessment
1. scripts展示 2. model展示 basic/advanced 3. 解释没建的几个
Limitation
Key Information Missing
Among the most difficult challenges we faced was the inability to gather critical information about the bridge from the building plan representations we possessed, such as the height of the bridge, the height of the arch, and the base extrusion. It was feasible to gather some of the data that was not available by analyzing or calculating other parameters, but it was not possible to obtain an accurate result, and the remainder could only be speculated upon. We attempted to get some photographs of the bridge to assist us in determining this portion of the data, but we were unable to locate the correct information.
Image Precision limitation
Due to the scale setting of the bridge plan, we encountered the problem of inaccurate measurement when measuring bridge construction details. For example, the handrail width of a part of the bridge is represented by only one line, and the river width is also blurred in the boundary due to pixel limitation. Therefore, although we can achieve the modeling to match the building plan in a general view, however, there may be inaccuracies in the details.
No precise tracing of the historical situation
During our research, we found that most Venetian bridges have undergone reconstruction, yet there is no specific dating data or representation in the plan representations and books that are the source of our data. Therefore, we are unable to determine whether our model corresponds to the real situation of Venetian bridges in 1808.
Detail Part Modeling Limitations
Time constraints, insufficient information, and other factors resulted in our model being more of a general overview of the structure and shape of the bridges, and it is lacking in some details, such as the details of some bridge steps, the style and pattern of the handrails, and the actual material rendering of the model itself. This will be the main direction of our future work.
Future Work
Optimization of Original Data
Getting specific details of the bridges will help a lot in the next modeling, such as getting more specific three-views of the building details or learning to see the details of the bridges in the field. Also, studying how the bridges have been rebuilt and changed over the years will be of great importance in reconstructing the city of Venice in 1808.
Optimization of the Model Details
The further optimization of the model is to optimize the details of the bridges. For example, the specific shape and pattern of the handrail columns, the specific details of the bridge, the rendering of different materials and textures.
Optimization of Modeling Methods
The 3d modeling method we are using now is Rhino software and grasshopper script. Although we have an overall generator for different bridges, we still need manual work to get input parameters, adjust details and generate models among different bridge models. If possible, we think we can try some neural network algorithms to automatically generate 3d models from different angles of photos and design drawings, and then combine them with specific parameters to optimize the models, which can make the whole modeling process more automatic.
References
Literatures
- STUDIO SAÒR. (2018). Catalogo veneziano.
- RIZZO, T. (1983). I Ponti di Venezia. Roma, Newton Compton.
- de miranda, Mario & Pogacnik, Marco & Skansi, Luka. (2010). Bridges in Venice - Architectural and Structural Engineering Aspects. IABSE Symposium Report. 97. 88-95.10.2749/222137810796063841.
